Winter can be a beautiful time of year. A time of fun in the snow, hot chocolates by a warm fire, and snuggling up on the sofa with your loved ones. Unfortunately, for some of us, it can also be a time of misery when the harsher weather starts attacking our homes.
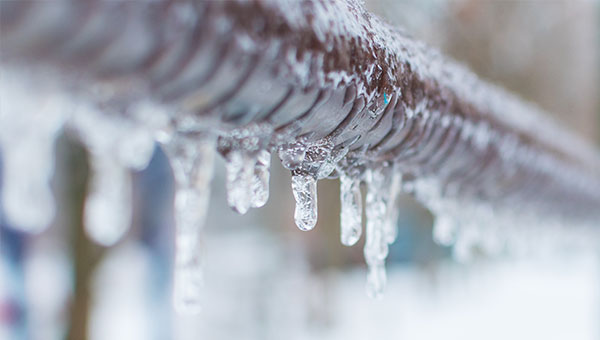
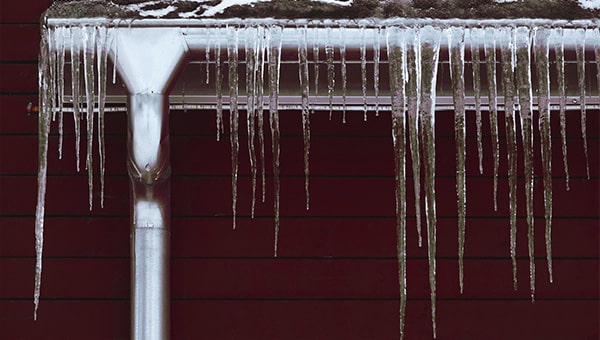
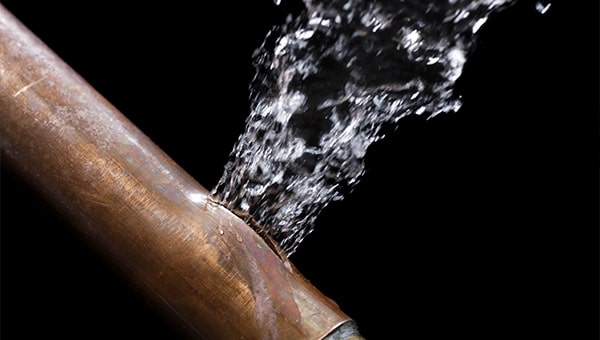
One of the most common winter problems for homes in the UK is the freezing up of water pipes. If you have ever woken up on an icy morning to find the heating hasn’t come on and there’s no water coming from your taps...you’ll know what we mean. The inconvenience of not being able to summon clean water at the twist of a tap is only the tip of the uncaring iceberg though. Frozen pipes can burst...and that’s when the real nightmare begins.
How do water pipes freeze and burst?
When the temperature drops to 0°C or below, water is going to freeze; it's simple thermodynamics. In your home, water pipes will usually have a small amount of water in them, even when you aren't using it. If the temperature in your house then drops below zero, as it might when your heating is turned off, this water can freeze.
When water freezes, it's molecules crystalise and expand. This results in them taking up more space than when in their liquid form. However, this in itself isn't what causes pipes to burst. As the frozen water expands to take up more space in the pipe, it pushes the remaining liquid water towards the point of escape (i.e. your taps). With nowhere for the water to go, being caught between the ice and tap causes an immense build-up of pressure. Eventually, this pressure will cause the pipe to rupture. Initially, this may not cause much of a leak, seeing as a lot of your water is now frozen. However, the big problem comes when the temperatures start to rise and the ice starts to thaw. In some cases, it can actually be the thawing process that causes the pipes to split.
Terminology Tip: here in the UK, you've possibly heard people refer to the temperature in both Celsius and Centigrade...but which one is correct? Time for a quick history lesson.
In 1962, British weather forecasts switched from the imperial temperature measurement (Fahrenheit) to the metric (Centigrade/Celsius). Originally, the metric unit was called Centigrade, from the Latin words "centum" (meaning 100) and "gradus" (meaning steps). This scale, which is based on a 0 degrees freezing point and a 100 degrees boiling point of water at 1 atm pressure, was invented in 1742 by the Swedish astronomer, physicist and mathematician, Anders Celsius... see where this is going?
In 1948, the unit was renamed to honour its inventor, and because centigrade was also a unit of measurement in the French and Spanish languages. So, in answer to the question "which one is correct, Centigrade or Celsius?", both names refer to the same scale of temperature measurement and are still often used interchangeably. However, Celcius is officially the correct terminology to use in the modern world.
Quick Conversion Tip: for anyone still using the old imperial unit of Fahrenheit, which has a 32 degree freezing point and 212 degree boiling point for water, here is a quick conversion formula to help you out.
(degrees Celsius x 1.8) + 32 = degrees Fahrenheit, for example (10 x 1.8) + 32 = 50
Why do water pipes freeze and burst?
Aside from freak “Big Freeze” weather events that cause dramatic and unusually harsh temperature drops, the main reason that pipes freeze and burst in the winter is because we don’t look after them properly. And by that, we mean that many of us forget to ensure that our homes are prepared to handle the colder weather.
Common reasons for why water pipes freeze and burst over the winter months include:
- Not lagging your pipes
- Not insulating your loft
- Turning the heating off when you’re not at home
- Setting the heating to only come on for short periods (e.g. an hour in the morning and evening)
- Not turning the water off and draining the system when you go away
- Neglecting outside taps and pipes
All of these things leave your home and your pipes exposed to the freezing temperatures.
Thankfully, they are all things you can easily remedy (check out our how to stop your pipes from freezing article for more on this). But what if it’s too late for that? How can you tell if your pipes are frozen? What can you do about it if they are? What do you do if a pipe bursts? These are all questions we shall now answer in this article.
How do you tell if your pipes are frozen?
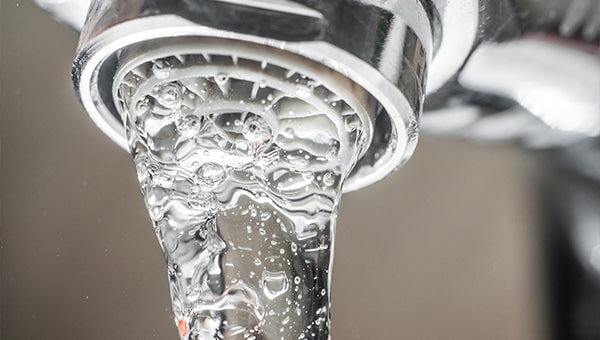
Okay, so the first and most obvious sign of your pipes being frozen is that there’s no water coming out of your taps. Your toilets failing to refill after flushing can be another, as can your boiler not working.
However, before you go running off to build a fire under your sink (please don’t actually do this), it’s worth checking with your neighbours first to see if their water is off too. If it is, there could well be a problem with the local supply and you might save yourself the joy of defrosting pipes by simply calling the water company to confirm if it’s their problem or yours.
Once you are certain that it is a problem with your property, it’s time to go hunting for frozen pipes. Follow the advice below on how to deal with a frozen pipe.
Of course, not all pipes are visible, so finding the affected pipe or pipes can be a bit difficult. If you are ever in any doubt when it comes to your plumbing, always call in a professional. The WaterSafe online directory is a good place to find a list of suitably qualified plumbers in your area.
Important Note: Unless the frozen or burst pipe is outside your premises, your water company is unlikely to offer you any help. Water pipes on your property are your responsibility to maintain, so it will be up to you to source and pay for any repair work.
What do you do if you have a frozen pipe?
A frozen pipe won’t always burst if it is found quickly and dealt with in the right way. As soon as you discover, or suspect, that you have a frozen pipe, you should take the following actions:
Step 1: Turn off the water supply
This is a precautionary measure in case the pipe was to burst. By turning off your water supply, you minimise the amount of water that could potentially escape if the pipe does burst.
- Isolate your main water supply using your stop tap - usually found under your sink, or where the service pipe enters your home
- Isolate the supply from your cold water tank (if you have one) - which is usually found in the loft
- Turn off your boiler or immersion heater
Step 2: Locate the frozen pipe
Considering the freeze could be located anywhere in your house, and it could affect multiple pipes, it’s best to try and narrow down the search area as best you can. Check every tap and toilet around the house, to see if any of them have running water. Hopefully, this will help guide you to the worst affected pipes.
If it does, you’ll then want to search for further clues of freezing. Look for any unlagged sections of pipework, or areas that are noticeably colder to the touch. You may also spot frost on the outside of the pipe or a bulge in its shape...these are fairly clear signs that your pipe is frozen.
Hopefully, when you find your frozen pipe, it won’t have already burst, thus giving you the change to prevent damage to the pipe and your property. However, if you do see signs of it having burst (i.e. a crack in the pipe, water leaking out or a damp patch beneath the pipe), don’t panic. Scroll on down to the “What do you do when a water pipe bursts?” section of this article and follow the steps provided.
Step 3: Prepare for the thaw
Before you attempt to thaw out your frozen pipe, there are a few things you should do first:
- Open the taps nearest to the frozen pipes so that, as the water thaws, there is somewhere for the pressure build-up to escape to that doesn’t involve it bursting your pipe - have someone else monitor the taps for you though, as, if the pipe below the sink is also frozen, the water could overflow your sink as you thaw out the pipe.
- Have some buckets and towels ready, just in case the pipe does burst, or in case there are already cracks in the pipe or plumbing joints that are currently being kept sealed by the frozen water.
- If possible, move anything near the pipe, that you don’t want to risk getting wet, out of the way and try to shield any potentially exposed electrical wiring or sockets etc.
Step 4: Begin the thawing process
If you are confident that your pipe and nearby fittings are all intact, and you are as prepared as you possibly can be in case of a leak, begin to slowly and cautiously thaw out the affected area. Starting at the end of the pipe closest to the tap, gently work your way back along the pipe with any of the following:
- a hairdryer (set to its lowest setting)
- hot water bottles
- hot cloth
- a towel soaked in hot water
If you have no water available to heat up for one of these options, and/or your electricity is out, your best bet will be to contact a qualified plumber.
WARNING!
Do not be tempted to try and use a blowtorch, heat gun, cigarette lighter or any kind of naked flame whatsoever! Doing so is very dangerous and can cause more damage.
Step 5. What to do next
All being well, your pipe will have thawed out nicely, there will be no damage, no leaks and the melted water will have flowed out of your tap as it was meant to. If this is the case, close the tap, double-check for leaks, turn your water back on and then go and read our how to stop your pipes from freezing article to see how you can avoid having to go through all this again in the future.
What do you do when a water pipe bursts?
If the worst has already happened and a water pipe has burst in your home, or the pipe burst as you were trying to thaw it out, acting quickly is your best hope of reducing the extent of any possible damage. Finding the burst pipe before the water thaws gives you a good chance of avoiding any serious property damage altogether. Regrettably, however, the most common way of learning you have a burst pipe is though noticing the water damage that’s already been caused. This can include serious damage to your home’s structure, furnishings and electrical wiring. Proceed with caution and do not endanger yourself while attempting to tackle any water leak.
As soon as you discover you have a burst pipe, you should take the following actions (assuming you haven’t already done so while trying to thaw out the pipe):
Step 1: Turn off the water supply and drain the system
This is now a matter of urgency! You need to stop the flow of water as soon as possible to lessen the extent of the potential damage.
- Turn off your mains water supply via your stop tap
- Turn off the supply from your cold water tank
- Turn off your boiler or immersion heater
- Drain the water system and heating system (once they have been turned off) by opening all of your taps (hot and cold) and flush your toilets
Step 2: Turn off the electricity
This is especially important the water is leaking out anywhere near electric wiring, sockets or electrical equipment. Don’t take any risks! If your electricity mains junction box is safely away from the water, turn it off. If it isn't, leave the house and call a qualified electrician.
Step 3: Call a plumber
This should be done as soon as possible, either by yourself after completing steps 1 & 2, or ideally by another member of the household while you’re busy turning everything off. This is now an issue you need professional help with to get it repaired. See earlier in the article for a link to the WaterSafe online directory for qualified plumbers in your area.
If you can’t get a plumber out to your property right away, you can bind the burst pipe with heavy-duty tape as a temporary fix. But please don’t try to use your water again until after the plumber has been.
Step 4: Clean up and document the damage
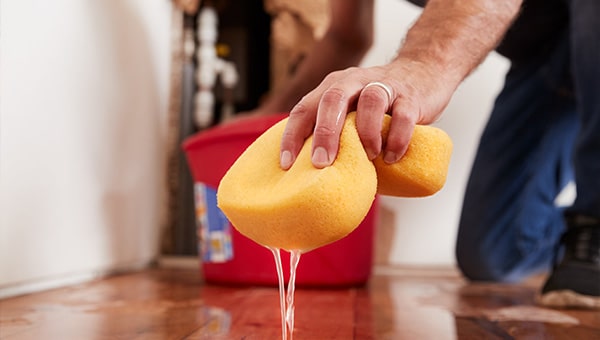
If safe to do so, and the leak is fairly small, you can get to work cleaning it up with towels and buckets and mops. Do what you can to protect or remove anything that hasn’t already been damaged by the water, but always put the safety of you and your family before that of your property.
If the leak is coming through the ceiling, or the ceiling starts to bulge, it’s structural integrity may be at risk and you will need to call in a professional to assess the damage. If safe to do so, you can carefully use something to, at arm's length, poke a hole into the ceiling bulge to let the water escape and catch it in buckets placed below.
Contact your insurance company as soon as possible, as they will advise on the claims procedure and the next steps to repair the damage caused by the escape of water. It’s also worth taking pictures of any damage caused, and keep damaged items and receipts for any repair work to aid your insurance claim.
Once the leak has been fixed, and assuming it is safe to use your electricity (call in a qualified electrician to check if you are unsure), you can use a dehumidifier to help remove dampness from the property. Just be careful not to overheat the affected rooms. You should also make sure you remember to turn off any taps that you opened, before eventually turning back on your water.
And there you have it, our guide to dealing with frozen and burst pipes... we sincerely hope you never have need to use it.
Should you have any questions, or need further advice about your water pipes and preparing for winter, contact JDP today. Our technical team is always on hand to help with all of your drainage needs.