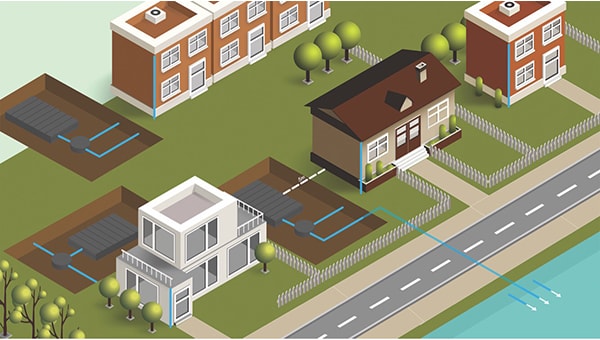
It can be scary thought digging a huge hole in your garden for a soakaway, so before you do, here is a list of do’s and don’ts when it comes to fitting your soakaway:
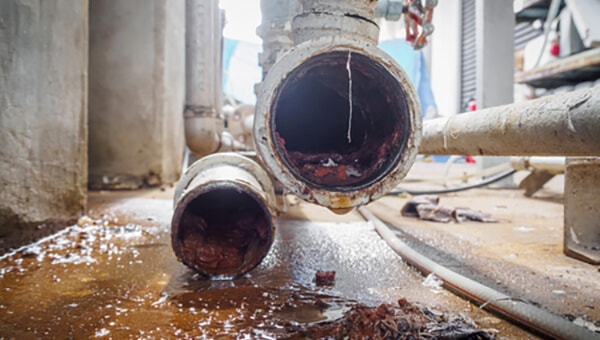
| DO install on land which is lower than your property, or at least level, to help water flow into the system and away from your house. | DON'T use a soakaway for any waste/foul water. This can clog up your soakaway and damage your soil, they’re not designed for this. |
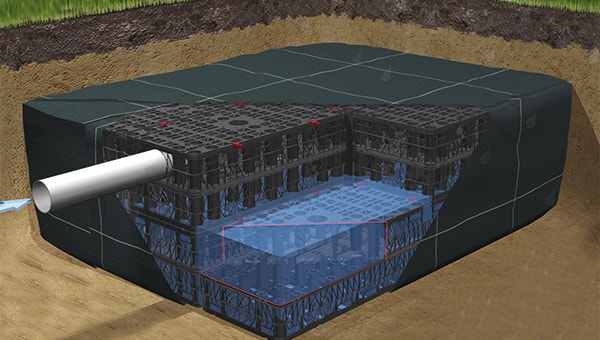
| DO choose a soakaway which is big enough to accommodate water at its maximum possible rainfall. | DON'T install a soakaway within 5 meters of your home or a road, it must be installed over 5 meters away. |
| DO choose a soakaway which has the correct loading in relation to where it will be installed; either gardens (normally 20 tonnes) or driveways (usually 40 tonnes). | DON'T install a soakaway in heavy clay soil, the water cannot drain through this so it won’t work if this is in your garden. |
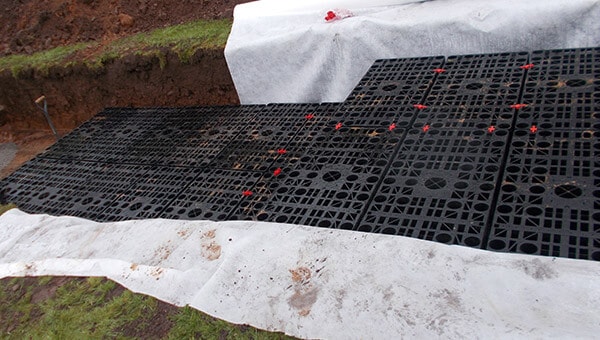
| DO dig out your hole logically and carefully. You can reuse the turf when it comes to recovering the soakaway | DON'T install a soakaway if you live in a polluted area prone to smog. Soakaways are no appropriate for polluted rainwater. |
| DO allow for a 100mm base layer and side fill area and leave room for 500mm back fill. | DON'T get planning permission. It is not needed if you are installing a soakaway within the grounds of your property. |
| DO try and make sure the sides and bottom of the trench are as straight and square as possible- it will make backfilling and side filling much easier. | |
| DO use a soakaway to solve surface water drainage issues. |